 If you've never tried green screen before, there are lots of ways to do it. In fact, when we do it, it isn't even a green screen, it is a blue one! The first step is to have a blue curtain or to paint a wall blue. In the past, I've even taped a blue sheet up to a wall and got pretty good results.
Next you add some code to Windows Movie Maker. If you aren't a computer programmer or if coding sounds intimidating to you, don't worry. I found the instructions here: http://www.wikihow.com/Chroma-Key-in-Windows-Movie-Maker super easy to follow. You do need to have the older version of Movie Maker though, the one for Windows 7 doesn't seem to work.
Once you add the Chroma Key, all the rest is a matter of editing in Movie Maker. The directions above take you through the rest of the steps. I've also written them out here: Greenscreen Directions if you are interested.
So besides feeling like a rock star when you figure out how this works, watching to kids videotape and edit is really fantastic!
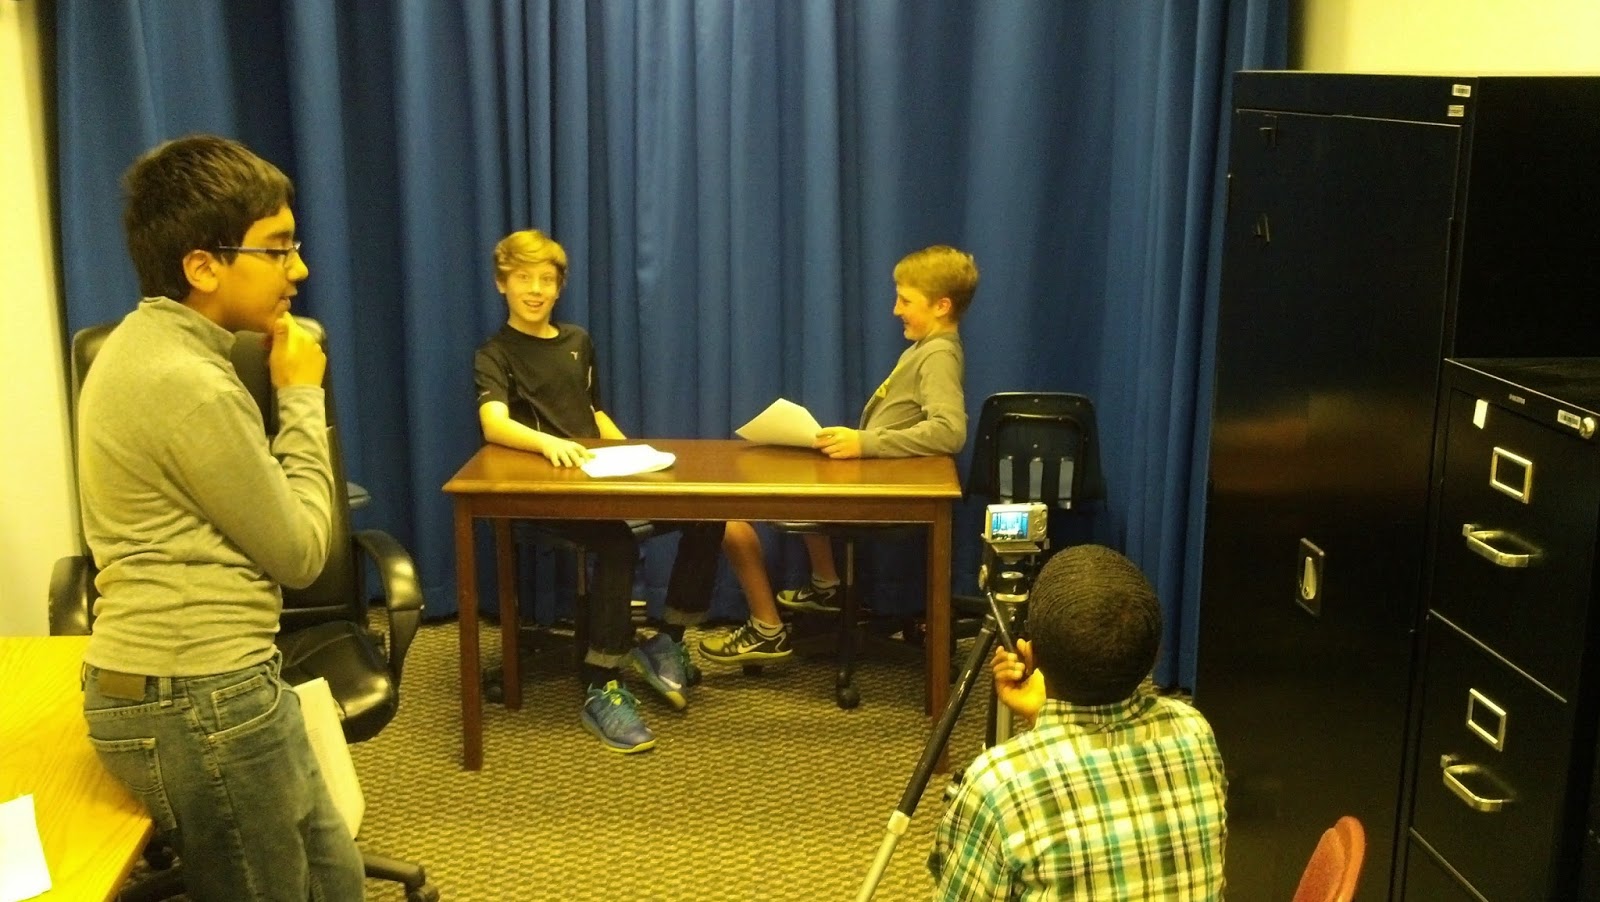
The class I worked with had prepared skits ahead of time and came in "the studio" ready to film. I had a camera and tripod set up, but they did the rest. The filmed, transfered files from the camera to the computer and followed the directions for editing in Movie Maker.
They loved, loved, loved filming. Their skits were clever and creative and they could have recorded and re-recorded themselves all day. Gotta love 6th graders. TIP: tell students they only get 1 take!
The also loved, loved, loved finding images for their background. We found that color pictures worked best and that anyone that wore a blue shirt in front of the blue curtain disappeared when we applied the green screen! TIP: make sure students wear clothes that are a different color than your background!

There is nothing like watching kids create a video that they've created start to finish. Greenscreen is no small undertaking but the outcomes are worth it!
I'd love to hear how others have used greenscreen and their ideas and tips about it!
No comments:
Post a Comment